Step 1: Access the Dashboard Tab
- Navigate to the Dashboard tab after logging into the Moverse Hub. This tab will automatically display all recent and past recordings that have not yet been uploaded to the portal.
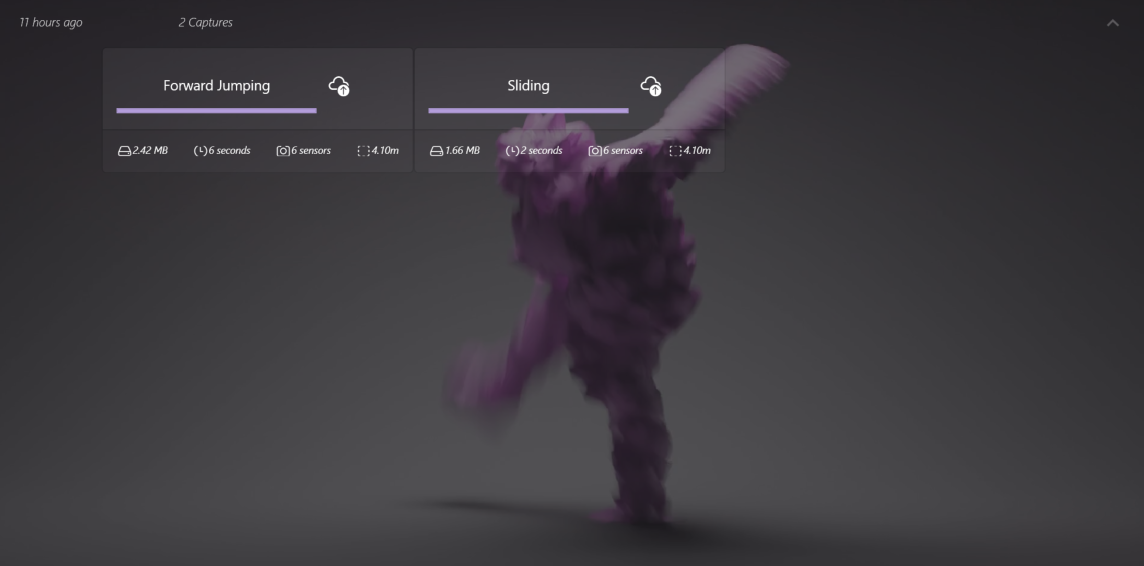
Step 2: View Capture Metadata
- Each recording listed on the Dashboard will include essential metadata:
- File size: Shows the file size in MB.
- Number of Cameras: Shows how many cameras were used during the recording.
- Duration: The total time length of the recording.
- File Size: The size of the recording file.
Step 3: Organize Captures
- Captures are grouped based on the period they were captured. This organization helps you easily find recordings by date or event.
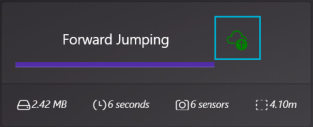
Step 4: Upload Captures
- To upload a recording to the Moverse portal:
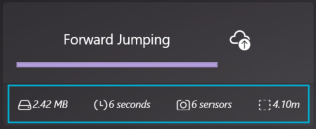
- Click the Upload button next to the recording you wish to upload.
- A progress bar will appear, indicating the upload process.
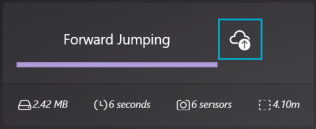
- Once the upload is complete, the button will turn green, signifying that the recording has been successfully uploaded.