Step 1: Launching Moverse Studio
- Start Moverse Studio: Launch the Moverse Studio through the Moverse Hub. Make sure that the cameras are properly connected as outlined in the respective hardware setup section.
Step 2: Camera Selection and Connection
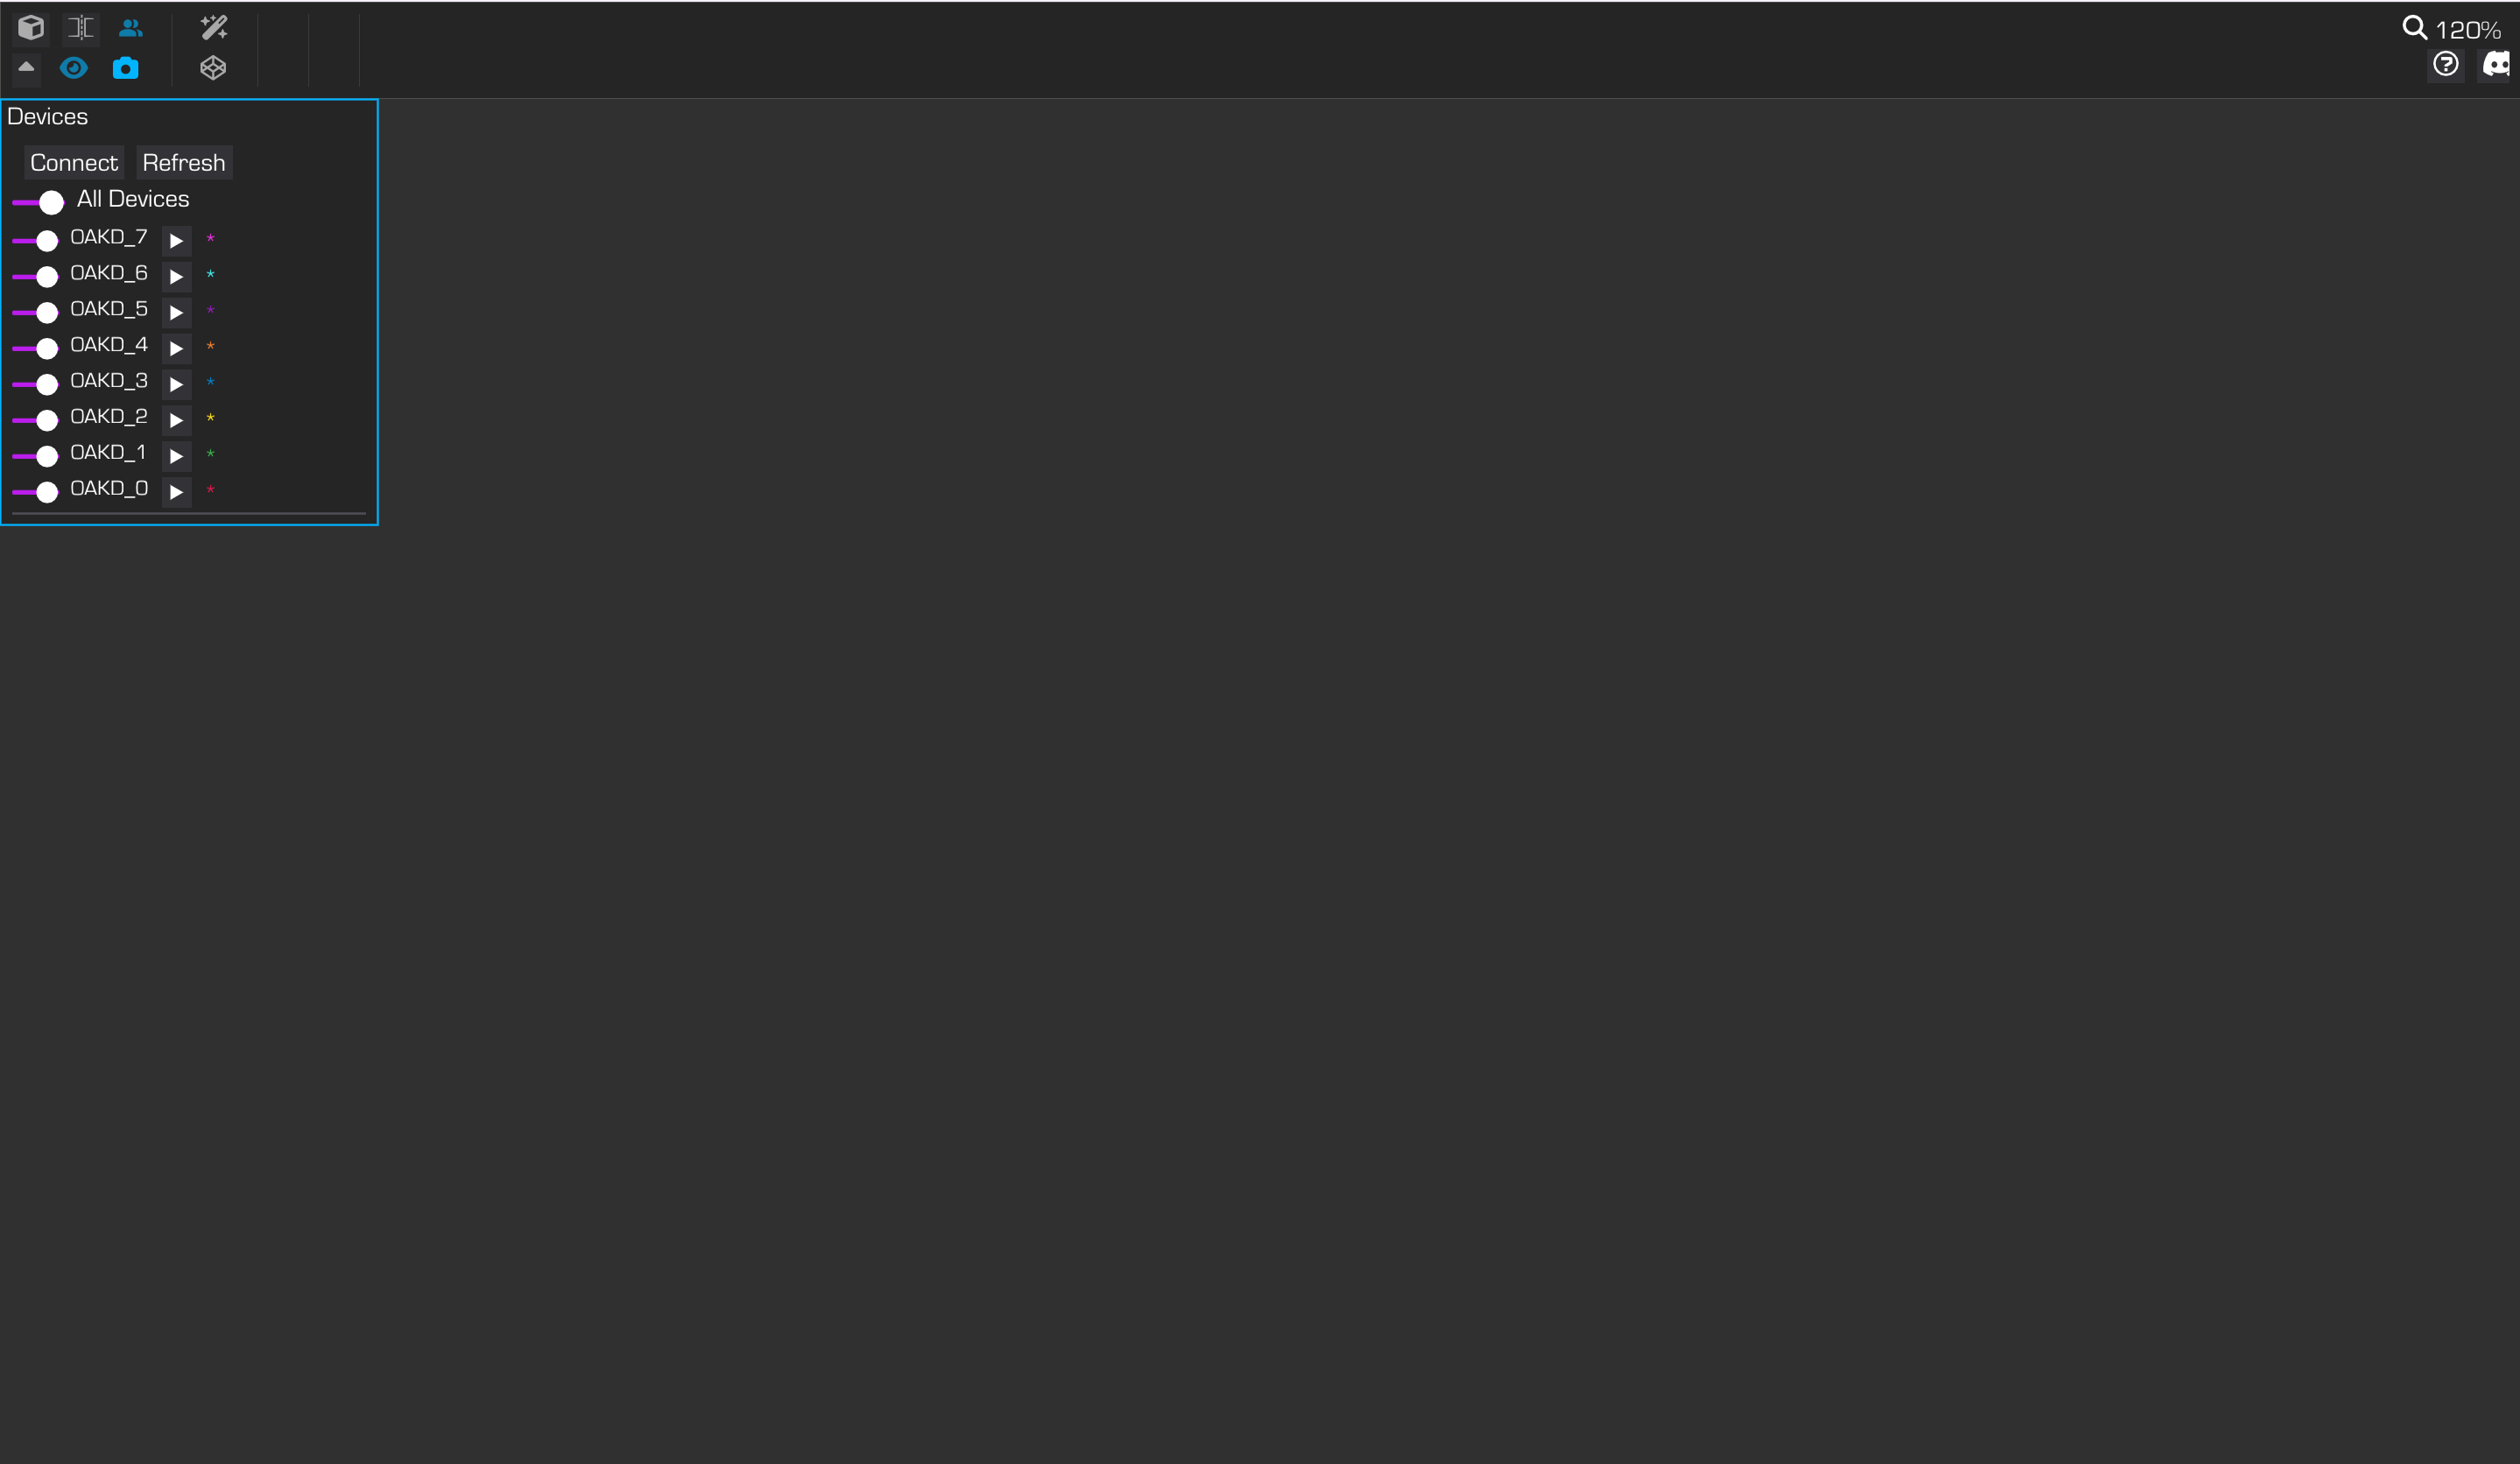
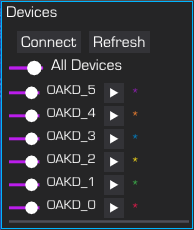
- Locate Camera Display: Once Moverse Studio is open, you can see the cameras, along with their names and metadata, displayed in the top right corner of the user interface.
- Discover All Cameras: In case some of the cameras are not visible, press “Refresh” to discover them all.
- Select Cameras: In the UI, select the cameras you wish to connect. You can choose all cameras or a subset as needed.
- Connect: Press the ‘Connect’ button to start the camera connection process.
Step 3: Streaming
- View Streams: The streams are visible in the viewer when it is set to 2D mode.
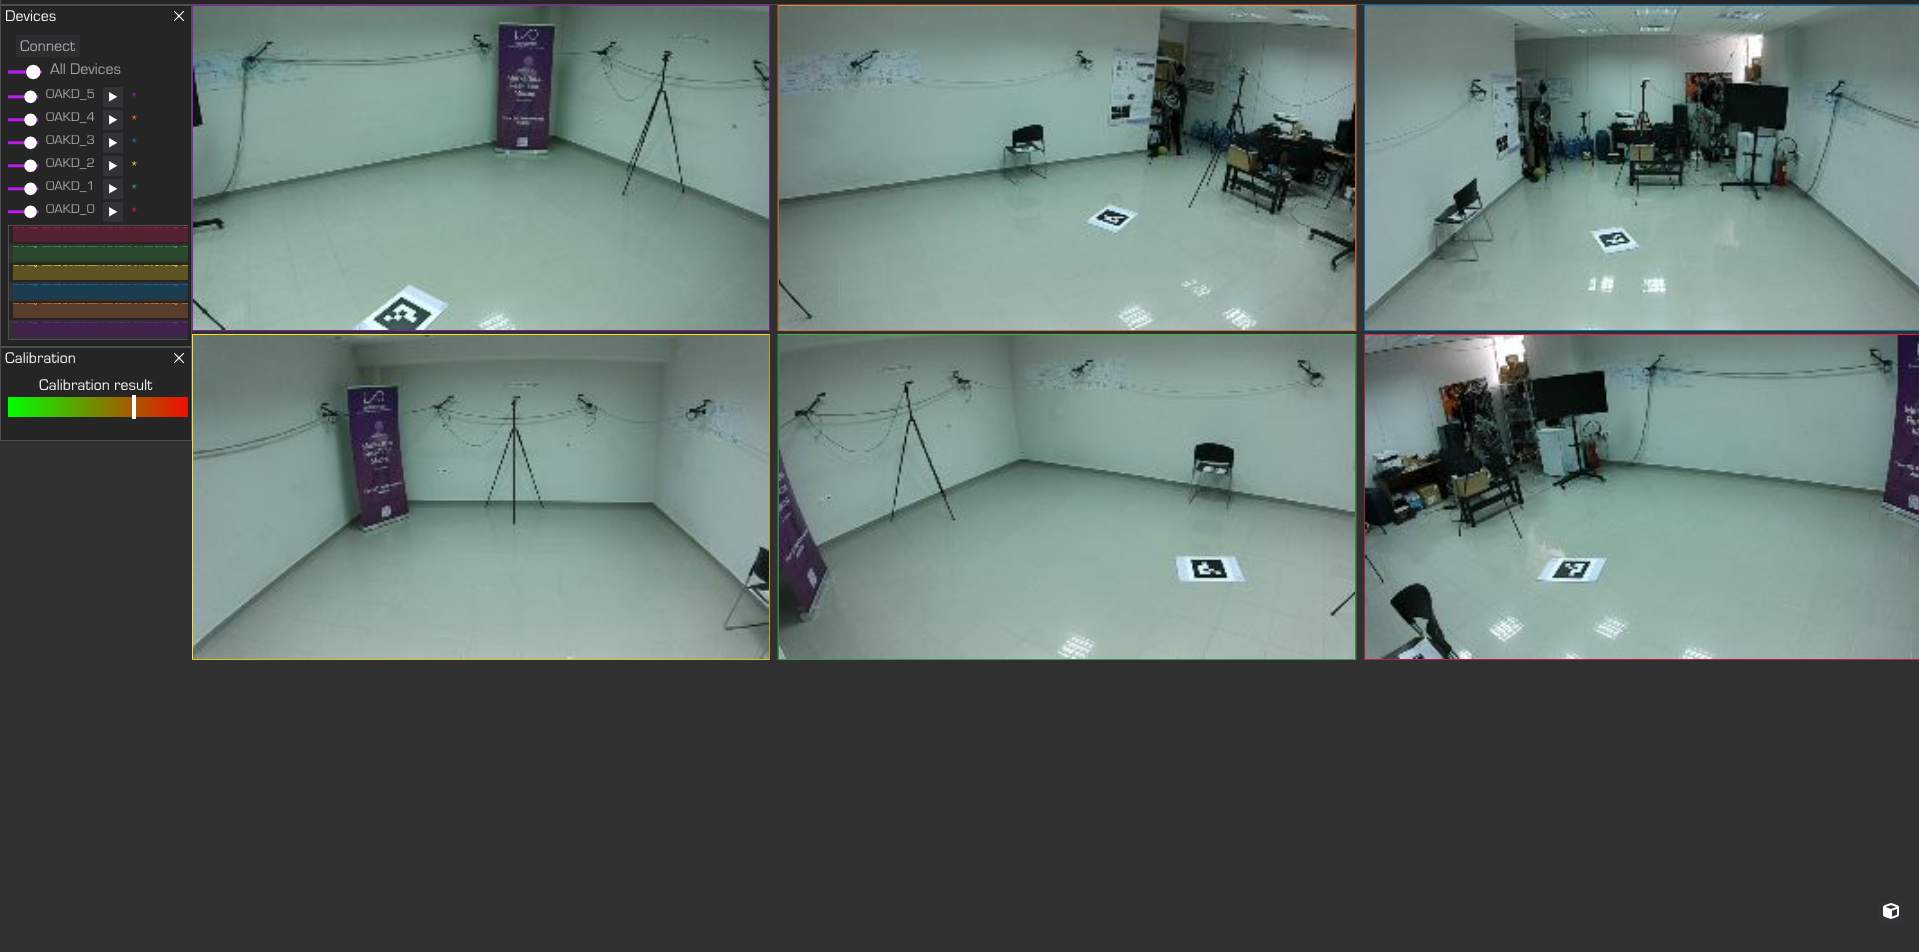
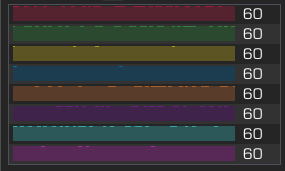
- Check Streaming Status: After a successful connection, the cameras will begin streaming and the FPS colored bars should be full to indicate normal operation at rate of cameras.